Honestly, there really was nothing left of the shirt & I could only salvage the buttons.
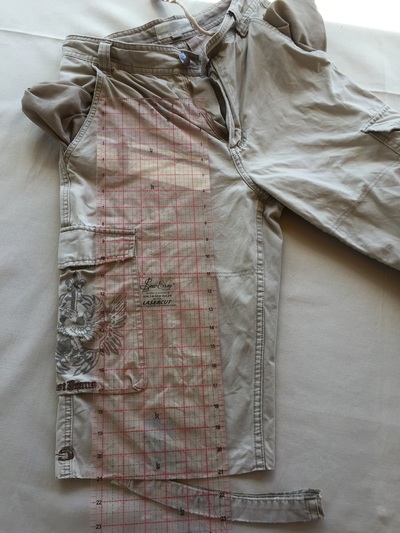
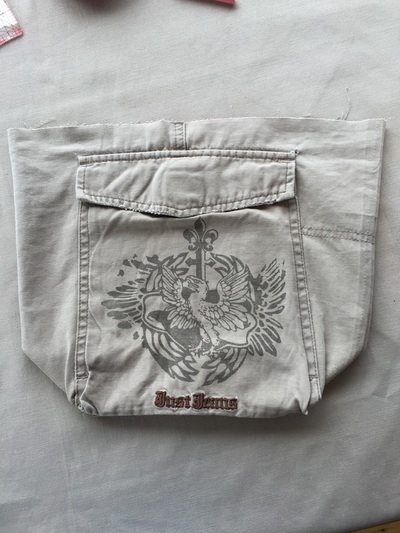
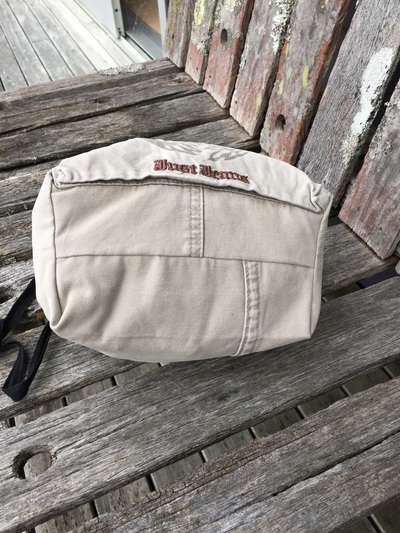
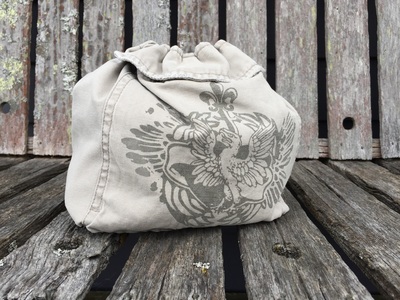
The shorts were pretty well rags too but I thought the pockets on the legs would make good starting points for project bags.
In truth the fabric on the other side of the leg is pretty thin but hey, nothing ventured nothing gained as the saying goes & the pants were throw-aways anyway.
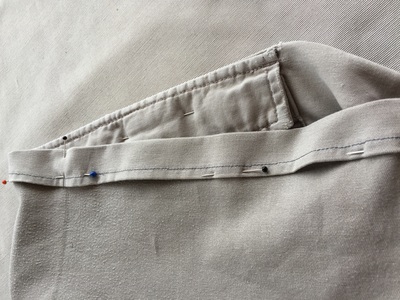
Here's a photo tutorial & a brief description of the process I went through.
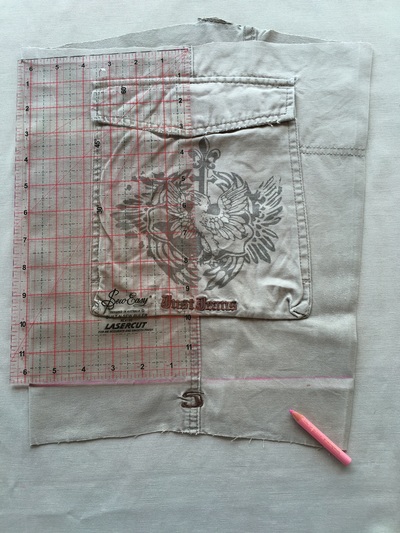
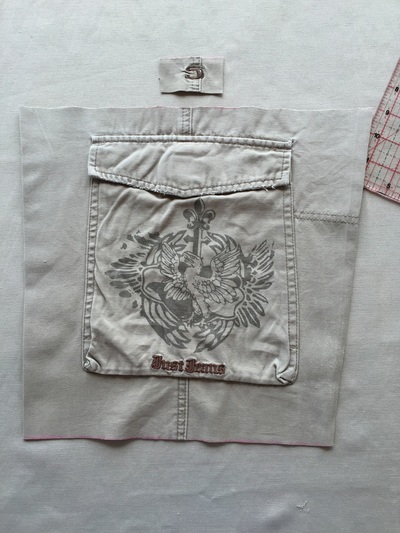
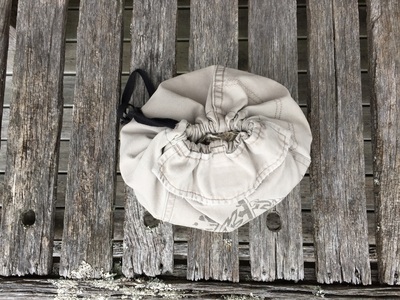
As I had decided I wanted the existing pocket to be in the middle on one side of my project bag I centred the pocket then used the original side seam to square the top & bottom edges.
This is necessary as the leg of these shorts is tapered.
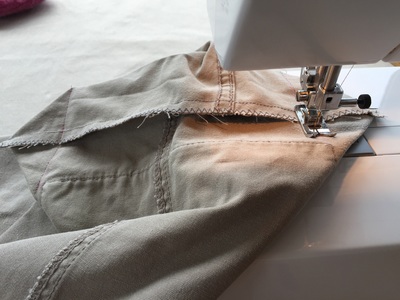
The technique of 'boxing the base' is well explained in Kristin Link's 'Bag Making Basics' which is a free mini class on Craftsy.
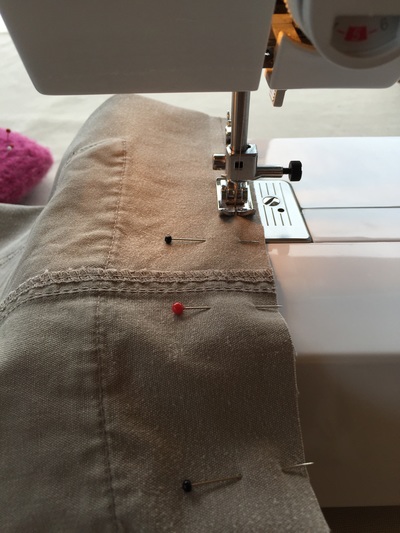
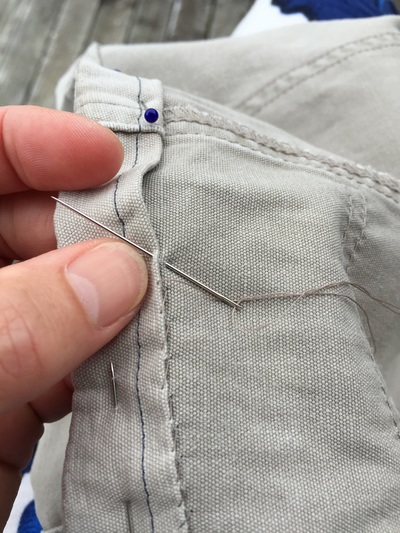
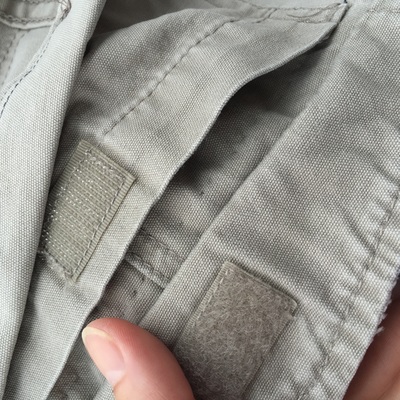
I hand sewed the section over the pocket so I didn't stitch the pocket closed !
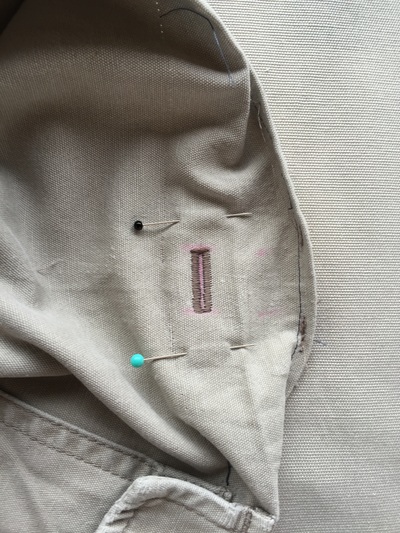
I was so chuffed that I realised I needed to do this . . .
So. damn. proud. of my buttonhole !
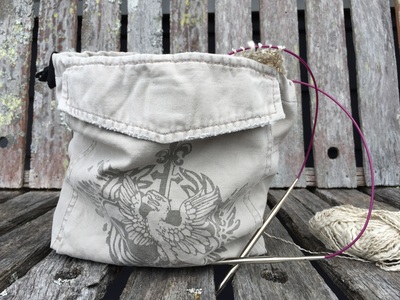
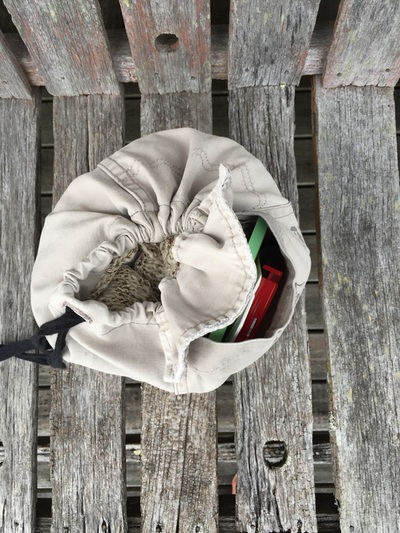
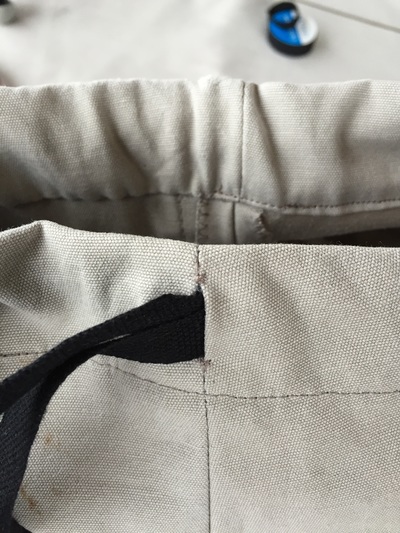
I changed it up a little for the 2nd bag I made from the other leg of the shorts & squared the sides as well as the top & bottom edges which allowed me to leave an opening in the side seam for the drawstring to exit.
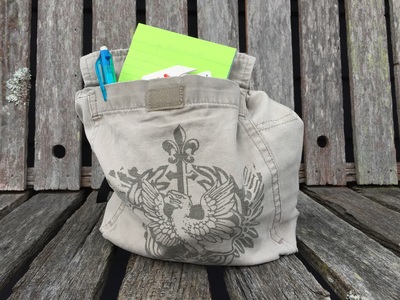
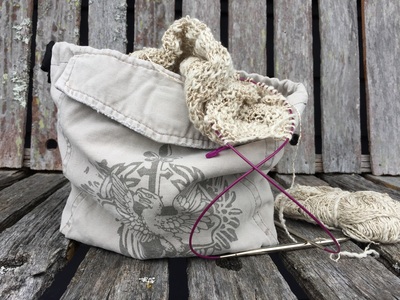
It's large enough to hold my work in progress; this is a summer weight cotton, top down knit jumper on needles & there is a note pad, row counter & all the usual notions we needle-craft types like to lug around with us in the pocket.
I used the other leg to make another bag & completed both easily on a Sunday afternoon.
It was great fun & a lovely Sunday distraction.
 RSS Feed